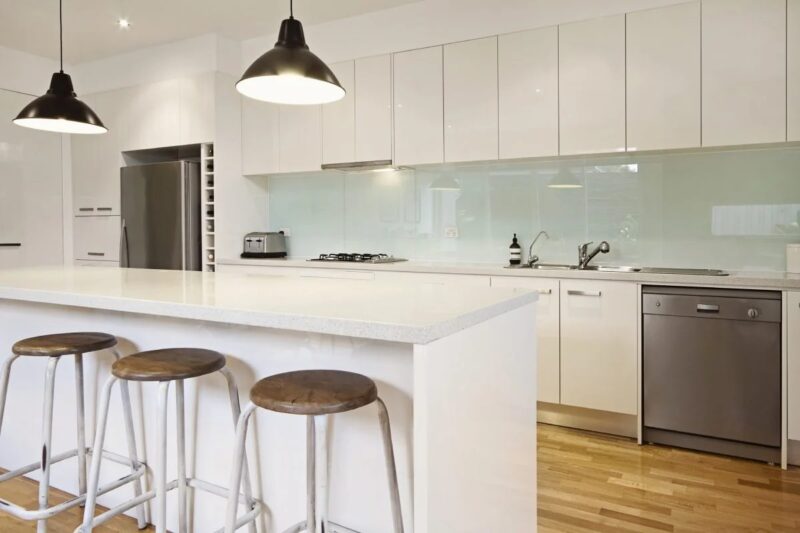
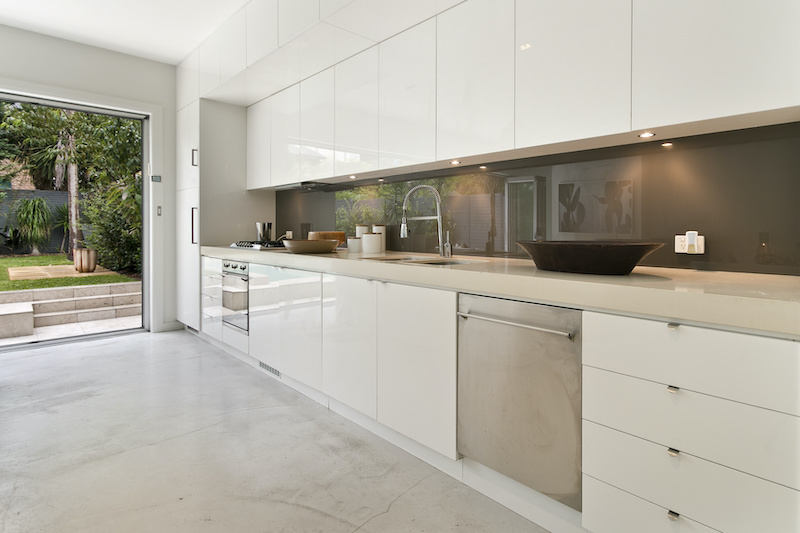
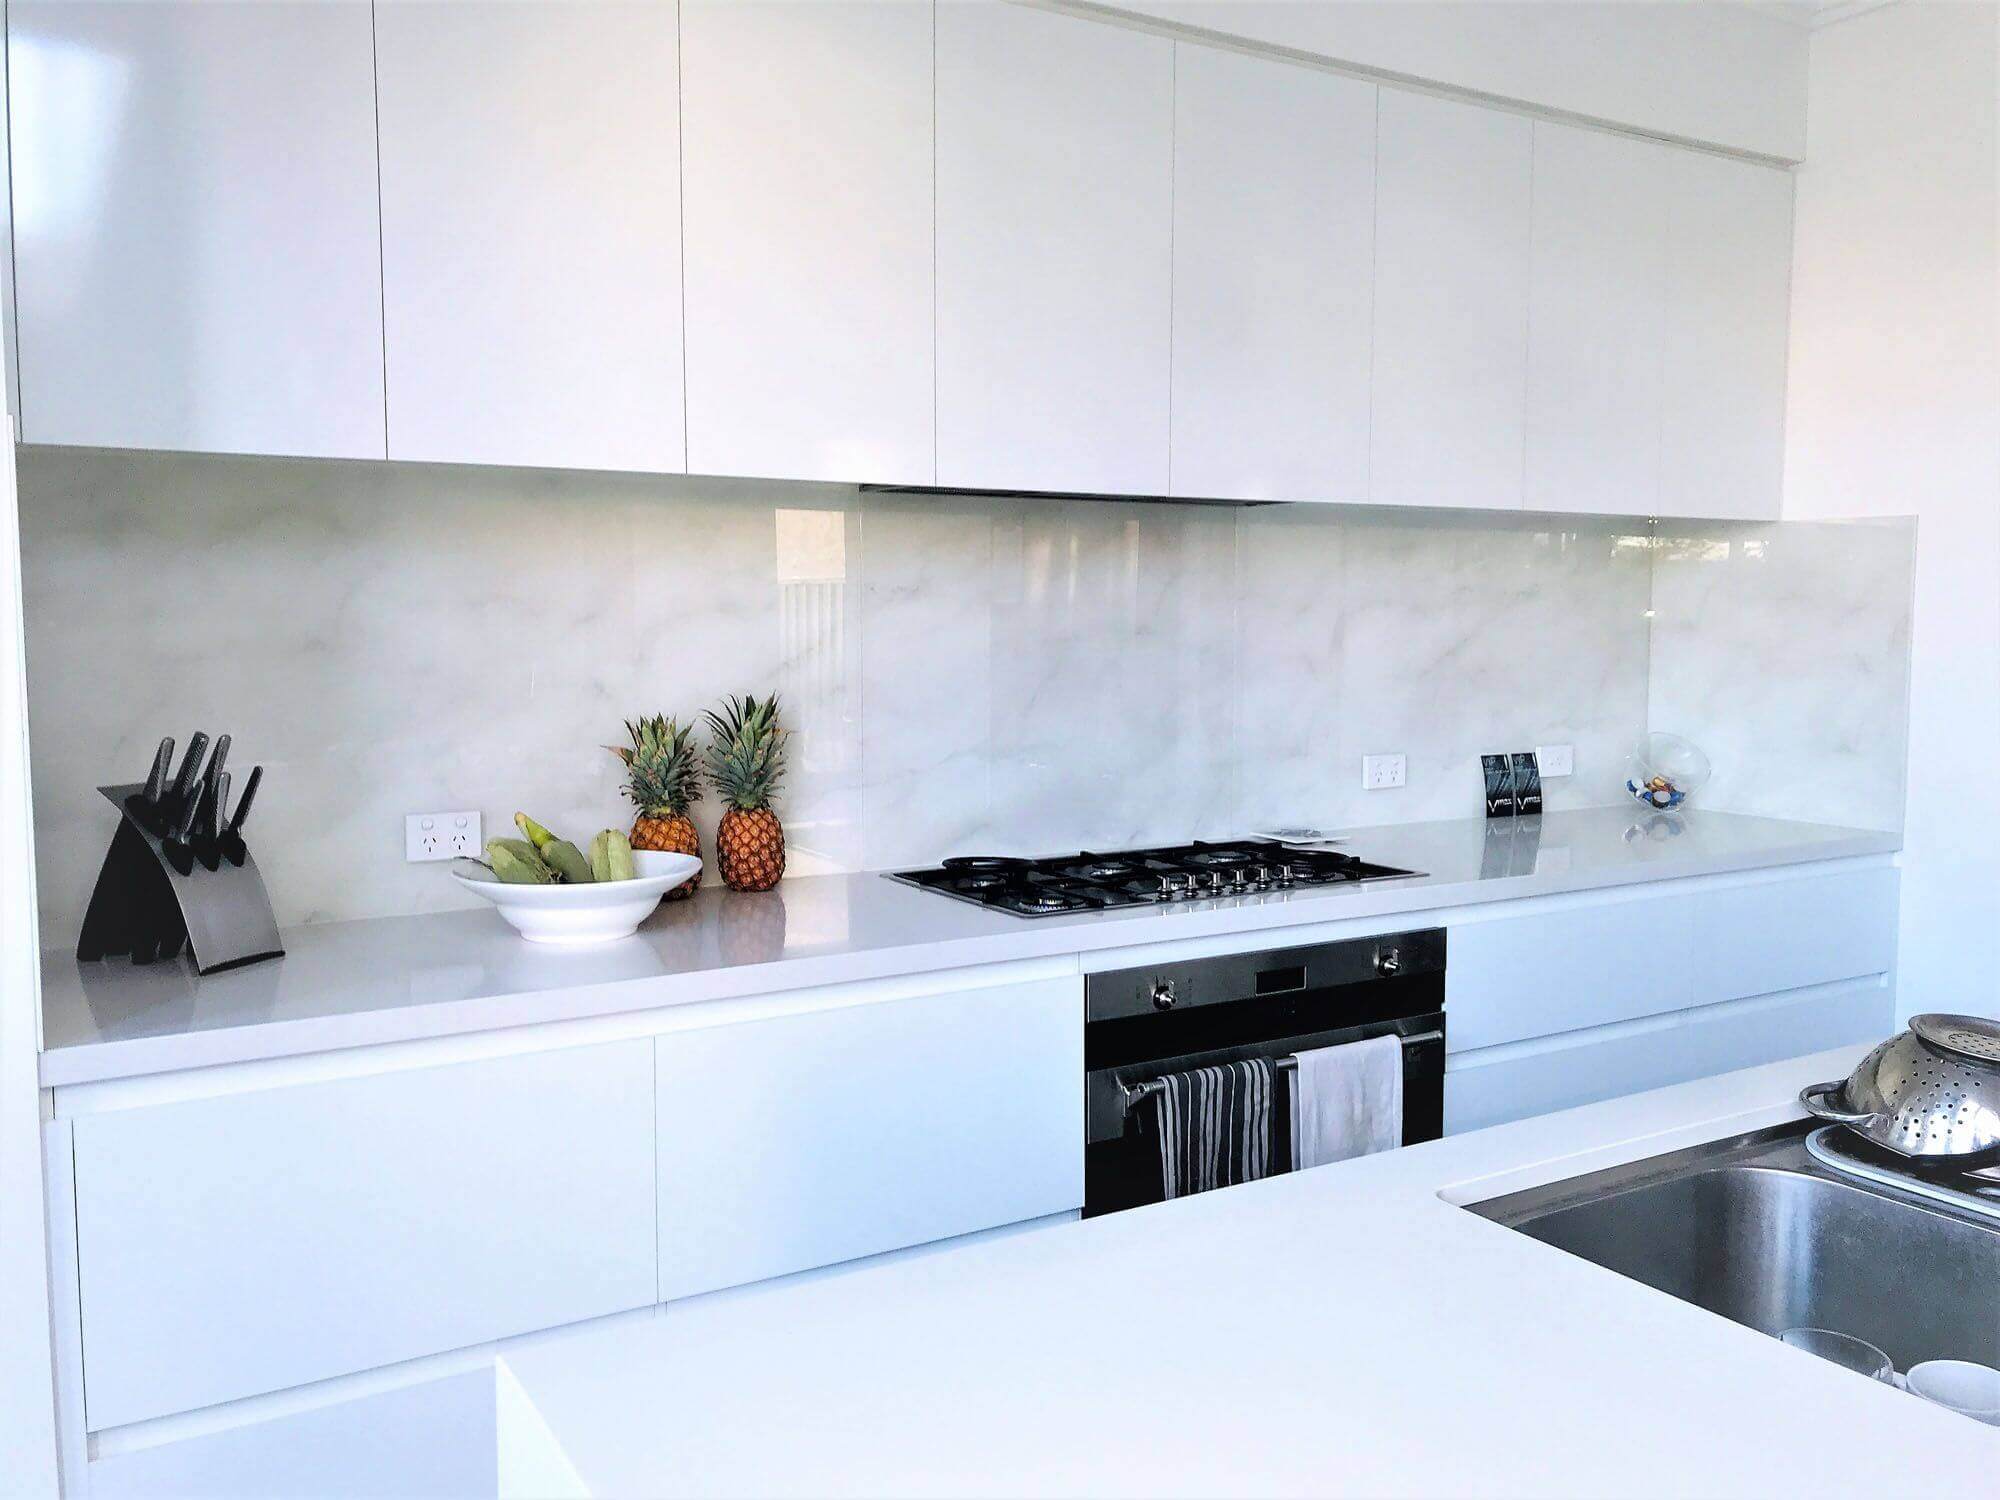
Glass splashbacks are a sleek and practical addition to modern kitchens. They provide a smooth, easy to clean surface while creating a bright and contemporary finish.
However, choosing the right installation method is just as important as selecting the colour or finish. The way the panel is fixed to the wall affects appearance, durability, and future maintenance.
Bonded installation and seamless appearance
One of the most common methods for glass splashbacks is bonding the panel directly to the wall. This involves using a strong specialist adhesive designed for glass and kitchen environments.
Bonded installation creates a clean, floating look with no visible fixings. Many homeowners prefer this method because it keeps the surface visually uninterrupted.
The wall behind the glass must be flat, dry, and properly prepared. Any major bumps or uneven areas can affect how the panel sits and may cause stress points.
Adhesive bonding also helps distribute pressure evenly across the back of the glass. This can reduce movement and create a secure long term fit when installed correctly.
Once bonded, removal can be more difficult without damaging the panel. For this reason, accurate measurement and careful planning are essential before fitting.
Screwed fixing and visible fasteners
Another option for glass splashbacks is screw fixing through pre drilled holes. These holes must be cut before the glass is toughened, as the panel cannot be drilled afterwards.
Screw fixings usually include decorative caps that cover the head of the screw. These caps are available in finishes such as chrome or brushed steel to match kitchen fittings.
This method can be helpful if the wall surface is uneven or if the splashback may need to be removed in the future. It allows for a small gap between the glass and the wall.
Some homeowners like the slightly industrial look created by visible fixings. Others prefer a completely seamless appearance and therefore choose bonding instead.
It is important that screws are not overtightened during installation. Excess pressure around the holes can create stress and increase the risk of cracking.
Rail systems and flexible mounting solutions

Rail systems are less common but can be useful in certain layouts. With this method, glass splashbacks are supported within top and bottom rails rather than being fixed directly through the panel.
This approach can make removal and replacement easier if the design changes in the future. It is sometimes used in commercial or modular kitchen settings.
Rails may be visible, which changes the overall style of the splashback. For ultra modern minimalist kitchens, this may not be the preferred aesthetic.
Proper alignment is critical with rail systems to prevent movement or vibration. A poorly aligned rail can cause uneven spacing or slight shifting over time.
As with other methods, accurate measuring and professional fitting are key. The chosen fixing system should suit both the wall condition and the overall kitchen design.
Conclusion
Glass splashbacks can be installed using bonded adhesive, screw fixings, or rail systems, each offering different advantages. The right choice depends on wall condition, design preference, and whether future removal is likely.
Bonded installation offers a seamless finish, screw fixing provides flexibility, and rail systems allow easier adjustment. By understanding these options, you can select a method that delivers both security and style.